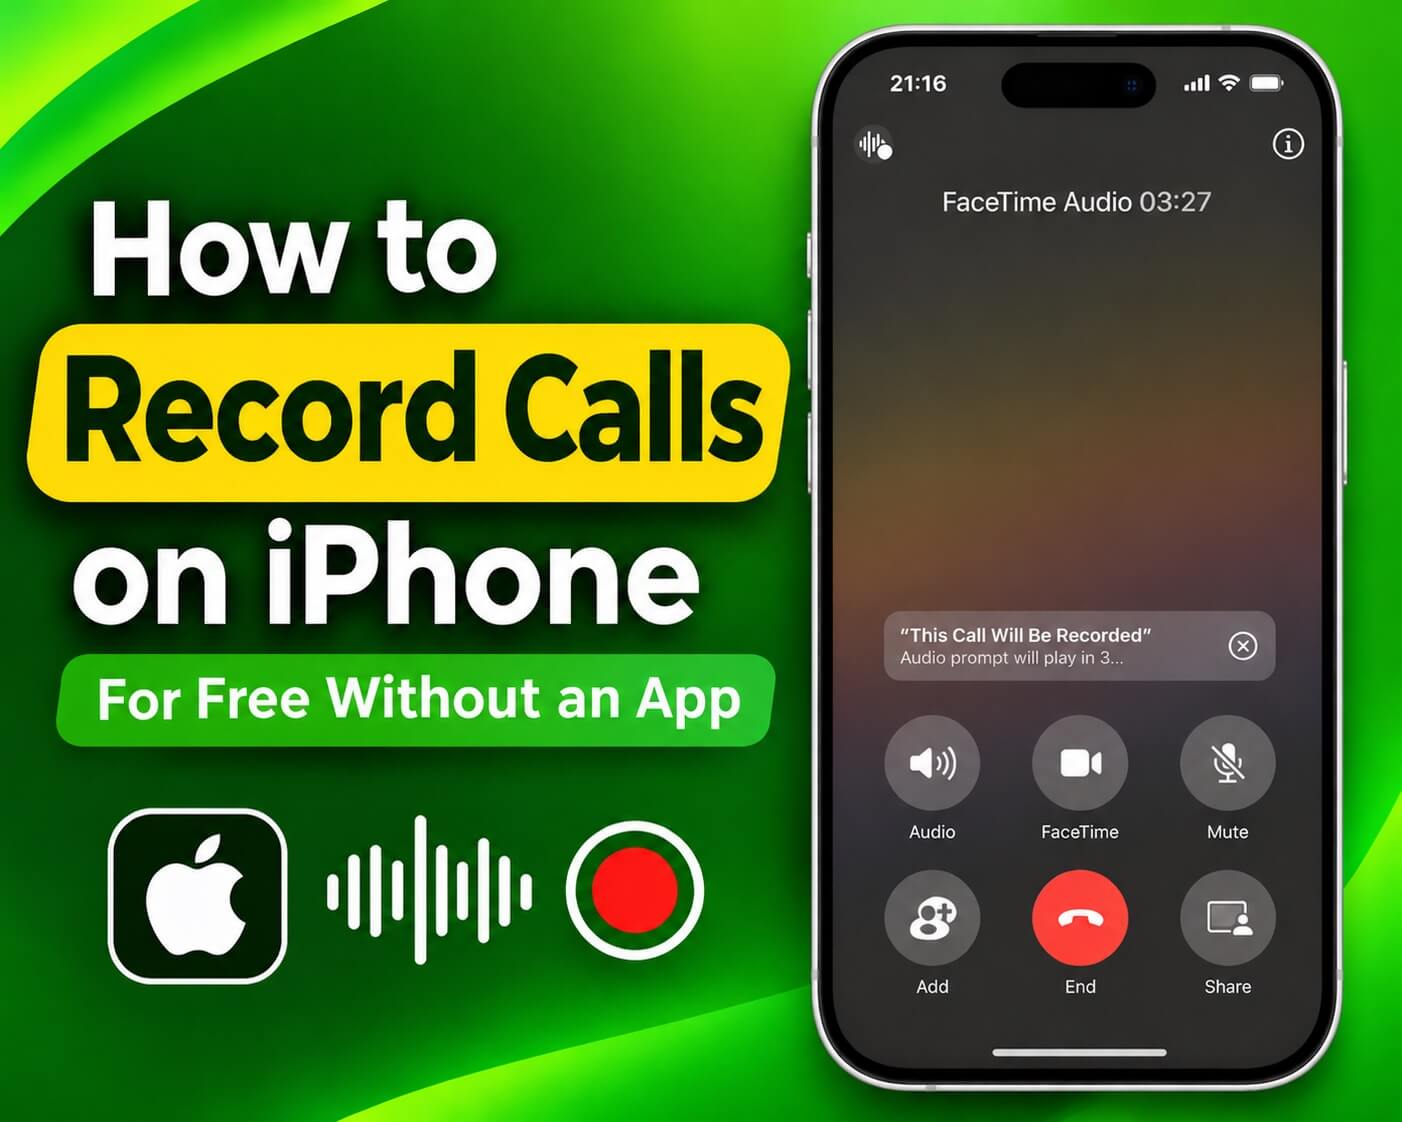
You can record incoming and outgoing calls on an iPhone for free without installing a third-party app. Apple’s built-in Call Recording feature captures conversations through the Phone app and saves them in Notes.
The limitation is regional availability. Apple’s recording feature is unavailable in certain countries, even on compatible iPhones. If native recording is unavailable, a second phone, tablet, or computer can capture the conversation through your iPhone’s speakerphone.
Record Calls Using Apple’s Built-In Feature
Apple’s native call recording works on compatible iPhones running iOS 18.1 or later, including the iPhone XS, XS Max, XR, and subsequent models that support the required software. It supports one-to-one phone calls and FaceTime audio calls without requiring a subscription or Apple Intelligence.
Before starting, check whether recording is supported in your country. Apple currently excludes the European Union, Morocco, the United Arab Emirates, Saudi Arabia, Turkey, Russia, and several other countries. Call Recording is enabled by default where supported, but you can check it under Settings > Apps > Phone > Audio Call Recording.
How to Start Recording a Call
Once the feature is available and enabled, you can start recording during a supported incoming or outgoing call. The recording controls appear during the active conversation.
- Open the Phone app and make or answer a call.
- During the call, tap the recording icon in the upper-left corner on iOS 18, or More > Call Recording on iOS 26 and later.
- Both participants hear an automatic audio announcement that recording has started.
- Tap Stop to end the recording without disconnecting, or end the call to stop recording automatically.
- Open Notes > Call Recordings and play the saved audio to confirm the conversation was captured.
For FaceTime audio calls, open the FaceTime app and select More > Call Recording during the conversation. The other participant does not need to enable call recording on their own device.
Where Are Recorded Calls Saved?
The iPhone automatically saves recorded conversations in the Call Recordings folder inside the Notes app. You can export the audio to Files for storage and sharing.
Transcription is separate from recording. Supported devices can display spoken words as text when the conversation is in a supported language, but a recording does not require a transcript to be saved. Apple Intelligence can also generate summaries on compatible devices, although this additional feature is not required for basic recording.
Record iPhone Calls Using a Mac or iPad
Apple also supports native call recording through the Phone app on Macs running macOS Tahoe 26 or later and iPads running iPadOS 26 or later, subject to regional availability restrictions. These devices can handle iPhone cellular calls through Apple’s Continuity feature, allowing you to record from the device where you answer or place the call.
Continuity requires the iPhone and receiving device to be signed in to the same Apple Account, with Wi-Fi enabled and the devices connected to the same network for standard nearby calling. FaceTime must also be configured with the same phone number on both devices, and cellular call relay must be enabled.
How to Enable and Record Continuity Calls
The iPhone must first authorize the Mac or iPad to handle cellular calls. Once a call is relayed, you record it from the Phone app on that device.
- On the iPhone, open Settings > Apps > FaceTime and confirm that FaceTime is enabled and your phone number is selected.
- Open Settings > Apps > Phone > Calls on Other Devices, enable Allow Calls on Other Devices, and select your Mac or iPad.
- On the Mac, open FaceTime > Settings, confirm the same Apple Account and phone number are selected, and enable Calls from iPhone. On the iPad, enable Calls from iPhone under Settings > Apps > FaceTime.
- Open the Phone app on the Mac or iPad and make or answer a relayed cellular call.
- During the call, select More > Call Recording, then stop recording or end the conversation. The audio is also saved in Notes > Call Recordings.
Record Calls Using a Computer or Second Device
A computer, spare smartphone, tablet, or standalone voice recorder can capture an iPhone conversation without accessing its cellular audio internally. This method works by placing the call on speakerphone and recording both voices through an external microphone.
Unlike Apple’s native feature, external recording does not depend on the iPhone’s Audio Call Recording setting. It also works with older iPhones that cannot install iOS 18.1, although audio quality depends on microphone placement, speaker volume, and surrounding noise.
Using a Windows Computer
Windows 11 includes Sound Recorder, which captures audio through a computer’s microphone. The iPhone must be close enough for the microphone to pick up both your voice and the other participant through the speaker.
- Open Sound Recorder from the Windows Start menu.
- Select the computer’s microphone as the recording input.
- Answer or make the call on your iPhone and turn on Speaker.
- Position the iPhone near the computer microphone and start recording.
- Stop the recording and play it back to confirm both voices are audible.
Note: Microsoft’s Sound Recorder supports recordings of up to three hours per file.
Using a Mac With QuickTime Player
QuickTime Player provides a built-in audio recorder on macOS, including older versions.
- Open QuickTime Player and choose File > New Audio Recording.
- Select the Mac’s microphone from the recording options.
- Put the iPhone call on speakerphone and position it near the Mac.
- Click Record to capture the conversation.
- Click Stop, choose File > Save, and play the file to check both voices.
Using Another iPhone, Android Phone, or Tablet
A second smartphone or tablet is a practical external recorder because it has its own microphone and recording software. Apple’s Voice Memos works on a separate iPhone or iPad, while Android devices can use an included voice-recording app where one is provided.
- Put the calling iPhone on Speaker.
- Open Voice Memos or the built-in recorder on the second device.
- Start recording and place the device near the iPhone.
- Speak normally and check that both voices are clearly audible.
- Stop recording after the conversation and save the audio.
A dedicated digital voice recorder works through the same microphone-based method. For clearer results, use a quiet room and avoid excessive speaker volume.
Why Voice Memos, Screen Recording, and Voicemail Are Not Reliable Alternatives
Voice Memos is designed for microphone recordings rather than capturing both sides of a cellular conversation on the same iPhone. Opening it during a call does not turn it into a telephone recorder, and a separate device is needed for the external recording method described above.
The iPhone’s built-in Screen Recording feature is also not a supported replacement for Call Recording. It captures screen activity and supported audio, but enabling its microphone option does not guarantee that both sides of a Phone call will appear in the saved video.
The voicemail merging workaround is similarly unreliable. Calling your own voicemail, merging the calls, and expecting the complete conversation to appear as a saved voicemail depends on carrier behavior and is not an Apple-supported recording procedure. Standard voicemail records messages left for a subscriber, not arbitrary conversations merged into an active call.
Is It Legal to Record Phone Calls on iPhone?
Call recording laws depend on where the participants are located and the circumstances of the conversation. Some jurisdictions allow recording with the consent of one participant, while others require every participant’s consent. Calls involving people in different jurisdictions require particular attention to the applicable rules.
Apple advises obtaining the other participant’s explicit consent before recording. Its built-in feature announces recording to both participants, but that announcement does not necessarily satisfy legal consent requirements.